
Now Reading: Wall Pilates Exercises: 15 Moves + a 28-Day Challenge
-
01
Wall Pilates Exercises: 15 Moves + a 28-Day Challenge
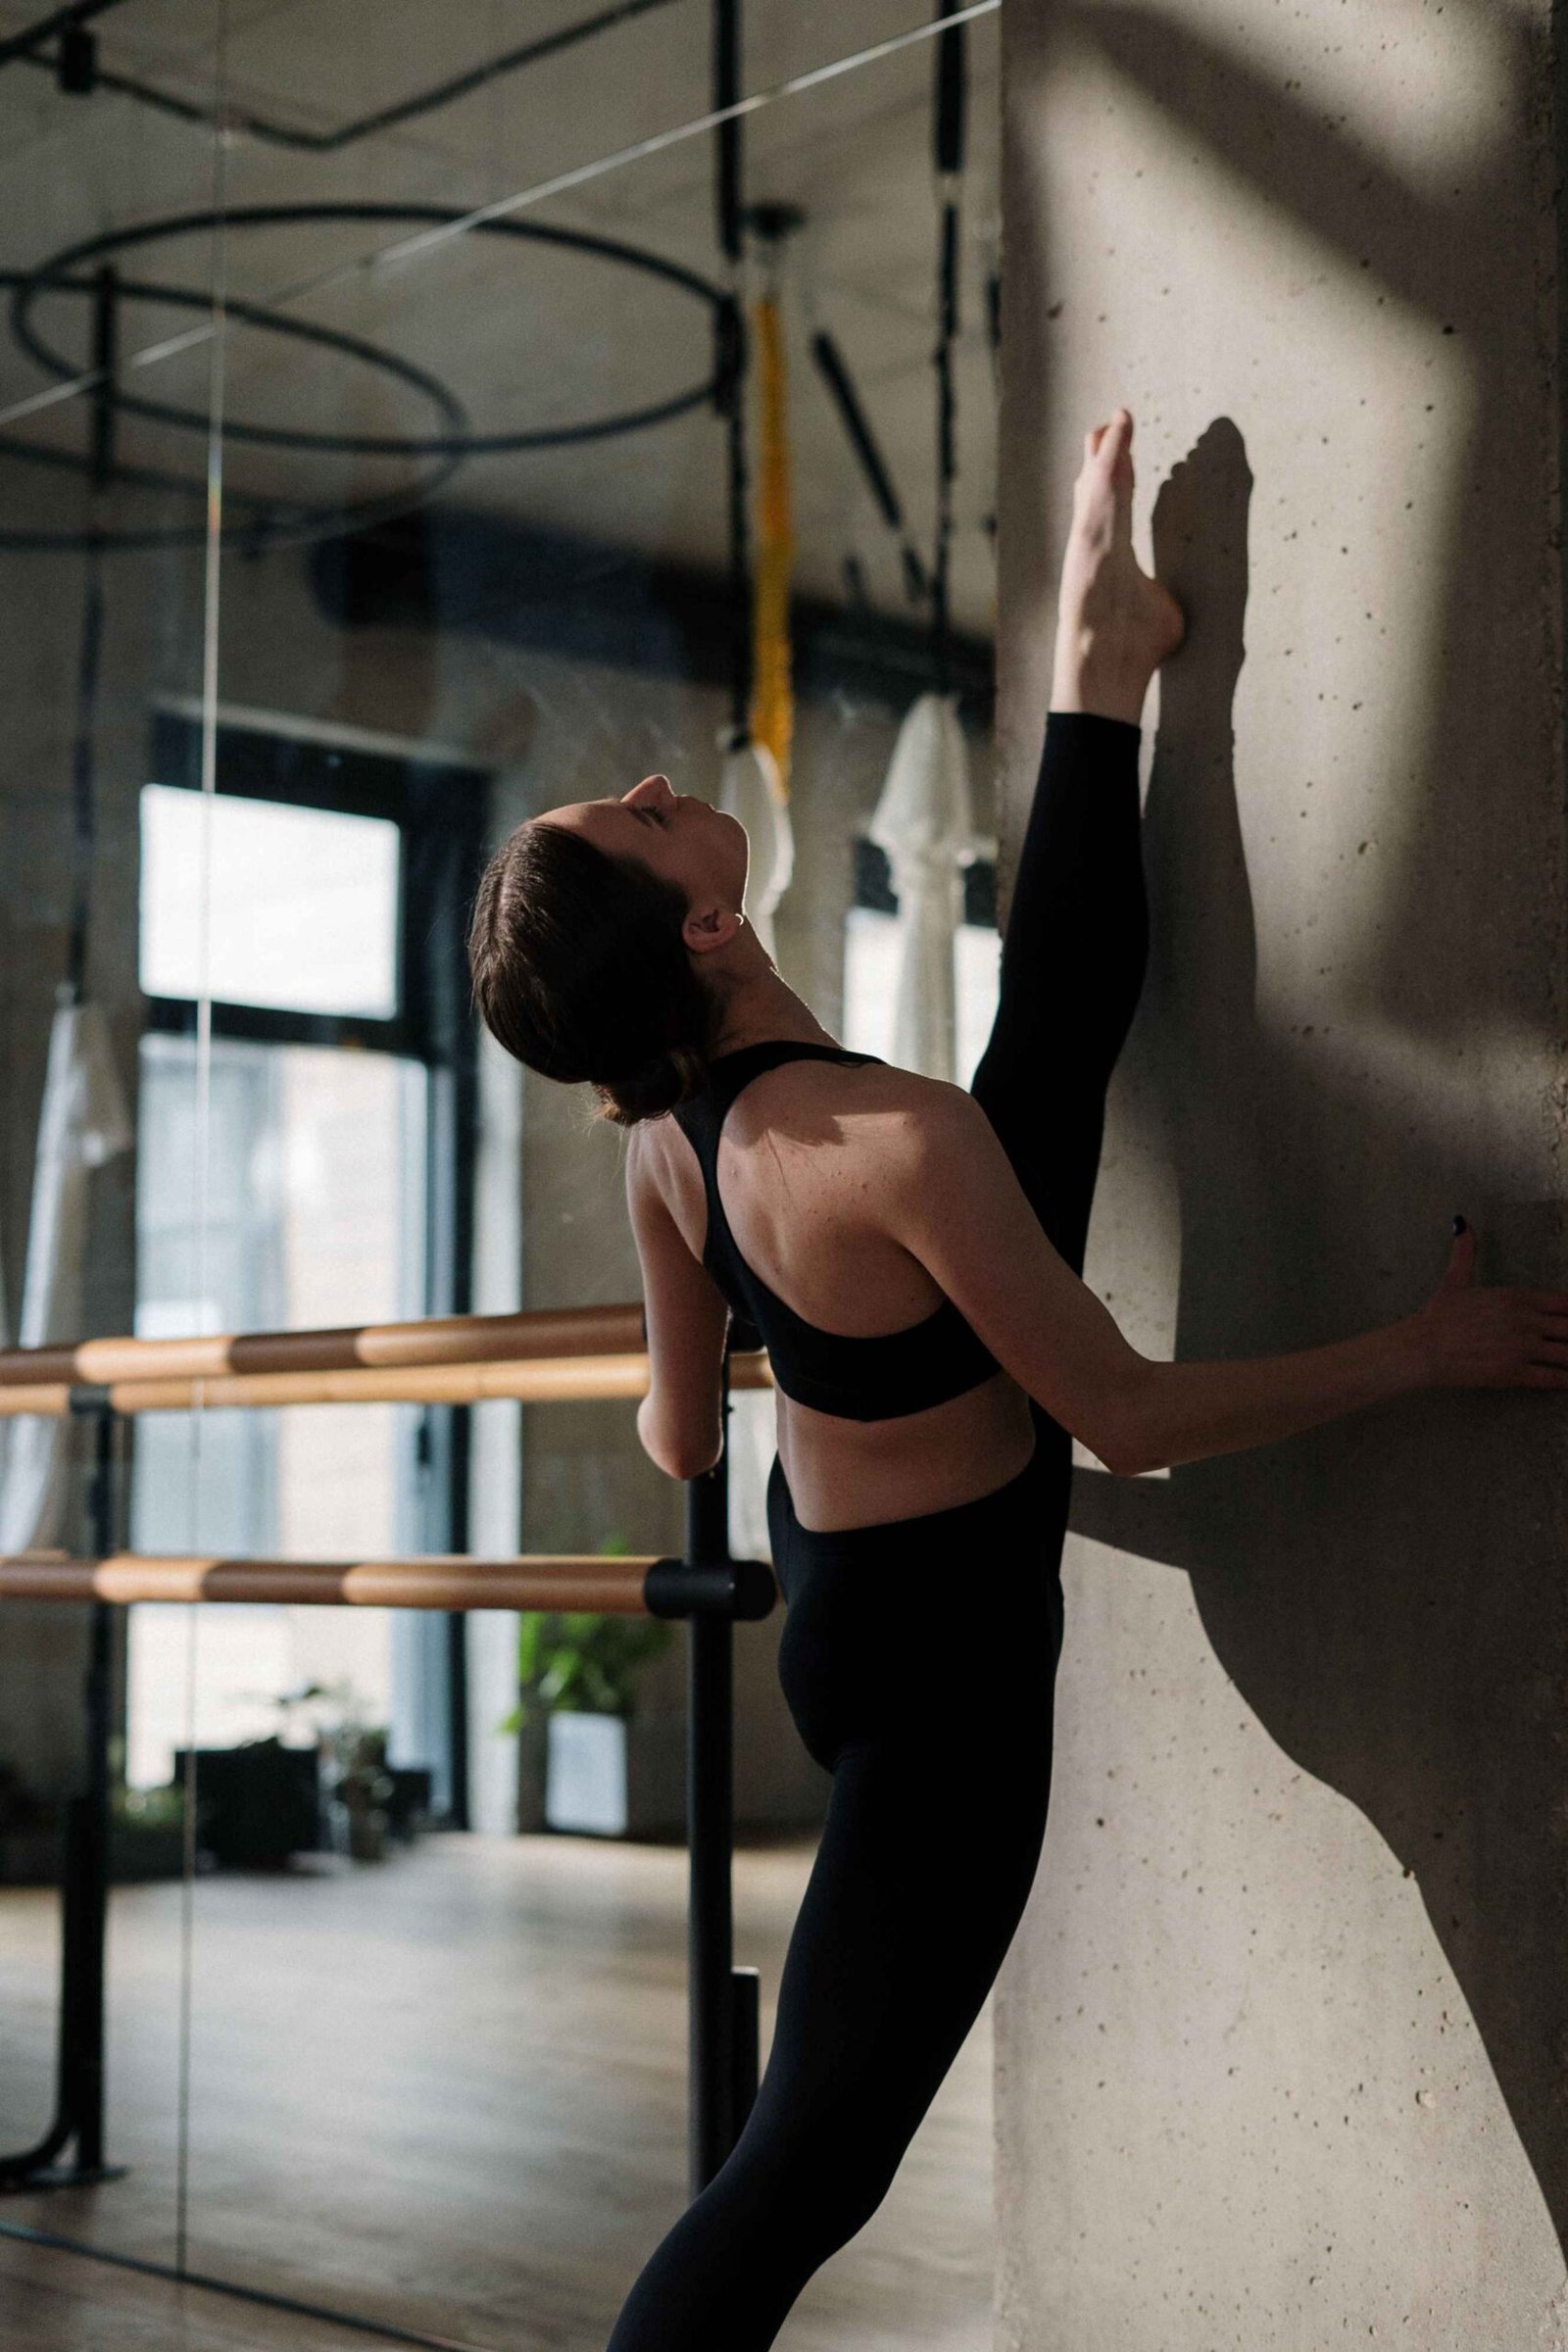
Wall Pilates uses the wall to support you or give feedback as you move through controlled exercises and focus on your breathing. Start with a few simple moves, stay within your comfort zone, and give yourself enough time to recover between sessions instead of pushing for tough workouts every day.
You don’t need a reformer to try Pilates-style movements at home. A sturdy wall gives your hands support and helps you notice if your body starts to sway. It may take some practice to find the right distance, move steadily, and know when to stop before your form slips.
This guide mixes Pilates-inspired wall exercises with some strength moves and three clear mat exercises. You’ll also get a free printable 28-day calendar that breaks the sessions into short workouts with rest days. This is a flexible practice plan, not a clinically tested program.
What is wall Pilates?
Wall Pilates is exactly what it sounds like: Pilates exercises that use a wall. The details can vary depending on the instructor or routine. Some moves use the wall for resistance, while others use it for balance or to help you check your position.
The NHS says Pilates focuses on balance, posture, strength, and flexibility. A wall routine can follow these ideas, but just adding a wall to a squat or push-up doesn’t automatically make it a Pilates move.
If you want another bodyweight option, our strength training yoga guide explains how different poses work your muscles. Choose one that you like and that matches your current fitness level.
Set up your space before starting
Choose a solid wall—avoid ones with glass, doors, mirrors, shelves, or loose items. Make sure your hands and feet grip the surfaces well. Don’t wear slippery socks on smooth floors. Make sure you have enough space to step back without catching on furniture or rugs.
For mat exercises, use a comfortable, non-slip surface and only get down to the floor if you can safely stand back up. The three floor moves below keep your feet on the ground, so you don’t need to put your feet on the wall.
Check with a qualified health professional if you have an injury, symptoms, a health condition, recent surgery, or if you are pregnant or recently postpartum. A certified Pilates instructor can help with positioning and adjustments. Stop if any exercise causes pain, dizziness, or makes you feel unwell.
How many reps should you start with?
For a first session just do one set of 4-6 comfortable reps of each movement you’ve selected. For the one sided movements that’s 4-6 on each side. Start the wall plank with one short hold of up to 10 seconds (or less if that’s what you need).
Move slowly so you can control the return, and remember to keep breathing—don’t brace so hard that you hold your breath. Rest between exercises until you feel ready to continue. These are general starting points, not a prescription for everyone.
Start off with 2 or 3 minutes of easy walking or comfortable marching and then go on to do moves 1 and 12. You don’t have to do all 15 of the moves in one go.
15 wall Pilates exercises and supporting moves
1. Wall-supported breathing and alignment
Stand up near the wall with your back lightly supported and your feet a short way forward. Let your arms hang and take four very comfortable breaths. Just observe your ribcage moving without any attempt to flatten your head or your lower back against the wall.
Easier option: just sit in a supportive chair. The wall is just a reference point, you don’t need to match the shape of the wall with your body.
2. Small wall arm slides
Face the wall and put your palms against it at about chest height. Slide your hands up a short way and then slide them back again. Keep the movement quite comfortable and don’t lean your chest forward or lift your shoulders up towards your ears.
Easier option: slide one hand at a time or reduce the height. Don’t force your arms overhead.
3. Wall press-up
Face the wall with your hands at chest height and your feet comfortably apart. Bend your elbows to bring your body towards the wall, keeping your trunk as steady as possible, then press back. Start close enough that you can control the whole movement.
Easier option: stand closer and use a smaller bend. This is a supporting strength exercise, the NHS strength guide has wall press ups and a number of other movement options for the beginner.
4. Standing wall plank
Place your hands on the wall and step back a little. Keep your body in a straight line, don’t let your lower back sag. Hold for a moment whilst breathing and then step forward to rest.
Easier option: stay more upright. If your wrists are in any way uncomfortable then just skip the hold and ask the instructor about an appropriate alternative.
5. Wall-supported mini-squat
Face the wall with your hands lightly on it. Slight bend in the knees, move your hips back and then move back to standing. Keep your heels down and your knees moving in the same direction as your toes.
Easier option: make the bend shallower. You’re doing a small controlled squat, not attempting to get to a deep position or do a prolonged wall sit.
6. Supported heel raise
Face the wall with both feet flat and your palms on the wall. Rise slowly onto the balls of both feet and then lower your heels gently. Keep your weight even rather than rolling onto the outside of your feet.
Easier option: lift less. ACE’s wall calf raise demo shows you the basic movement; start with both feet rather than the single leg version.
7. Supported toe lift
Stand facing the wall with your hands supported. Keep your heels on the floor and lift the fronts of your feet slightly, then lower them. Stay upright rather than rock backwards to make the lift as large as possible.
Easier option: sit with your feet flat and just lift the toes from there. Use a small range, height isn’t the point.
8. Slow supported march
Face the wall with your hands on it. Lift one foot a little, lower it, then alternate. Keep your trunk fairly still and just lift as high as you can without leaning or pulling against the wall.
Easier option: alternate lifting a heel with the toes remaining on the floor. You can of course keep both feet down as and when you like.
9. Supported side-leg lift
Face the wall and move one leg a short way sideways with the toes pointing forward. Return it slowly and repeat on the other side. Keep your pelvis level and your upper body from tipping in.
Easier option: just slide the foot along the floor rather than lift it. That’s a wall-supported version of a general strengthening exercise.
10. Supported back-leg lift
With hands on the wall, move one leg a little behind you and then return. Keep the movement very small so that your lower back doesn’t arch and your chest doesn’t pitch forward.
Easier option: just slide the toes backwards along the floor. The leg doesn’t need to go very far at all.
11. Hip hinge toward the wall
Stand with your back to the wall, a small step away. Soften your knees and drive your hips back until they lightly touch the wall, then return to an upright position. Let your trunk move with the action rather than round your back to reach.
Easier option: start closer to the wall. Use that as a positioning drill, no weights at all.
12. Gentle supported weight shifts
Face the wall with feet apart and hands supported. Shift a little weight onto one foot, get back to the centre and move towards the other. Keep both feet down and the movement very small.
Easier option: reduce the shift. A wall can give you some feedback but it’s not a safe handrail at all. If you need the extra support then just skip the standing balance work.
13. Mat pelvic tilt
This floor companion doesn’t require any wall contact. Just lie on your back with your knees bent and feet flat. Gently tilt your pelvis so that the gap under your lower back is a little reduced, then return to a comfortable resting position.
Easier option: just make the movement very small. Don’t push hard at all, don’t lift your hips. Cambridge University Hospitals describe pelvic tilts and bridging. Their patient guidance is a technique reference, not a rehab plan for the readers of this article.
14. Low mat bridge
Lie on your back with your knees bent and your feet flat on the floor. Drive through your feet, lift your hips a little and then lower under control. Keep your neck relaxed and your weight off your head. Stop the lift well before your back actually arches.
Easier option: keep your hips down and work on movement 13. Don’t bother with a wall bridge if your feet are slippery.
15. Mat heel slide
Lie on your back with your knees bent and feet flat. Slowly slide one heel out along the floor and then bring it back in. Just use the amount of movement you can do without your pelvis tipping noticeably or your back going uncomfortable. Alternate sides.
Easier option: just shorten the slide. Keep the foot on the floor the whole time, it’s not a hovering straight leg.
How to use the 28-day wall Pilates challenge
The challenge gives you three practice sessions per week with a recovery day in between. It’s not 28 consecutive workouts. A recovery day can be a day of complete rest or a day spent doing something else entirely (e.g. a normal everyday activity). You don’t need to do any additional training to complete it.
Use this session key:
| Session | Selected movements | Standing alternative to mat work |
| A: Foundation | 2 arm slides; 3 press-ups; 5 mini-squats; 6 heel raises | All standing |
| B: Leg control | 7 toe lifts; 8 march; 9 side-leg lifts; 10 back-leg lifts | All standing; seated toe lifts are available |
| C: Trunk control | 4 wall plank; 11 hip hinge; 13 pelvic tilt; 14 bridge; 15 heel slide | Skip 13–15 and repeat two comfortable A or B movements instead |
Before each session you’ll want to warm up as described above, then take four comfortable breaths in movement 1 and do six small alternating shifts in movement 12. The preparation movements don’t need any additional sets as you progress. Finish with a short easy walk or a comfortable seated rest.
| Week | Day 1 | Day 2 | Day 3 | Day 4 | Day 5 | Day 6 | Day 7 |
| 1: Learn | A | Recovery | B | Recovery | C | Recovery | Rest / review |
| 2: Repeat | A | Recovery | B | Recovery | C | Recovery | Rest / review |
| 3: Optional increase | A | Recovery | B | Recovery | C | Recovery | Rest / review |
| 4: Consolidate | A | Recovery | B | Recovery | C | Recovery | Rest / review |
The numbering restarts in each row to illustrate the weekly pattern. The printable numbers run from 1 to 28 each day so you can start on any date.
Choose the amount of work that fits
- Week 1: One set of 4–6 repetitions; one wall-plank hold of up to 10 seconds.
- Week 2: Repeat Week 1, or try 6–8 repetitions if comfortable. Keep the plank hold the same.
- Week 3: Stick with the same amount as before, or add a second set of 4 to 6 repetitions. If you add a second plank hold, rest between them and keep each one to 10 seconds or less.
- Week 4: Repeat the amount you manage well. If two sets are comfortable, you can try 6–8 repetitions per set. There is no requirement to increase the plank duration.
Use the per-side counts for movements 8-10 and 15. The plank is a time based movement. Rest as you need between sets and movements, the schedule doesn’t dictate any speed. A fairly short session may take around 10-20 minutes depending on your rest and adaptations, but take however long you need.
Only increase if you can do the current amount with steady movement and have a comfortable recovery before the next session. You can repeat an earlier week or take extra rest as and when necessary. If you’ve missed a day just go back to where you were when you’re ready, don’t double up on sessions.
What can you reasonably expect?
Use the four weeks to learn the movements and find a routine that you can go back to. Record the practical observations: do you remember the setup? Can you control the return? Do you need fewer pauses at the same amount of work?
The plan makes no claims as to how much strength any individual will gain or indeed promises weight loss, a smaller waist or any change in body shape. A short session doesn’t in any way automatically cover the entire range of a more extensive activity programme.
If the issue is scheduling then the self care wheel can help you to identify what else in your life needs time and support in addition to your exercise. You don’t need to have your calendar up against sleep or your basic self care.
What if it seems too difficult a movement?
Reduce the range of motion, get closer to the wall for a press-up or plank, do fewer reps or just leave it out. Some effort is obviously required during exercise but pain is a reason to stop, not a reason to carry on.
If you can’t stay upright without leaning heavily on the wall then ask an instructor or a health professional about a more appropriate set up. Same applies if it’s difficult to get to or from the floor. The standing option is available without you having to attempt the mat version first.
On recovery days you may well prefer a quiet day rather than another movement session. Our guide to relaxing after a long day has a number of options to suit different time commitments.
When would you get individual guidance?
Seek advice before you carry on if the pain comes back, if you develop any new symptoms or if you’re at all in any doubt as to whether a movement is appropriate for your particular condition. A physiotherapist can assess your symptoms, a suitably qualified Pilates instructor can assist with technique and modifications within their area of competence.
This is general exercise information only and is not a substitute for medical advice. Stop exercising if you feel unwell. If you are experiencing chest pain, fainting or severe breathlessness then you should seek urgent medical attention.
For day one, go with a stable setup and a small amount that you can manage. Finishing with the option to do more is a sensible place to start.
Sources
- NHS. Pilates video for beginners. Pilates context and exercise suitability guidance; the video is not this wall routine.
- NHS. Strength exercises. Wall press-ups, mini-squats, and supporting leg-strength movements. Some chair-supported movements are adapted here to light wall contact.
- ACE. Standing Calf Raises – Wall. Two-foot wall-supported heel-raise technique.
- ACE. Progressions and Regressions: What Do They Look Like?. Wall hip-hinge feedback and exercise progression principles.
- Cambridge University Hospitals NHS Foundation Trust. Back mobility exercises. Pelvic-tilt and bridge technique reference; individual patient treatment instructions are not transferred to this plan.